
WiFi Hack method (Kali Linux)
Open your Kali Linux computer's Terminal. Find and click the Terminal app icon, which resembles a black box with a white ">_" on it.
You can also just press Alt+Ctrl+T to open the Terminal.
2
Enter the Aircrack-ng installation command. Type in the following command, then press ↵ Enter:
sudo apt-get install aircrack-ng
3
Enter your password when prompted. Type in the password you use to log into your computer, then press ↵ Enter. This enables root access for any other commands executed in Terminal.
If you open another Terminal window (as you may later in this article), you may have to run a command with the sudo prefix and/or enter your password again.
4
Install Aircrack-ng. Press Y when prompted, then wait for the program to finish installing.
5
Turn on airmon-ng. Type in the following command, then press ↵ Enter.
airmon-ng
6
Find the monitor name. You'll find this in the "Interface" column.
If you're hacking your own network, it will usually be named "wlan0".
If you don't see a monitor name, your Wi-Fi card doesn't support monitoring.
7
Begin monitoring the network. You can do so by typing in the following command and pressing ↵ Enter:
airmon-ng start wlan0
Make sure you replace "wlan0" with the name of your target network if it's different.
8
Enable a monitor mode interface. Enter the following command:
iwconfig
9
Kill any processes that return errors. In some cases, your Wi-Fi card will conflict with running services on your computer. You can kill these processes by entering the following command:[1]
airmon-ng check kill
10
Review the monitor interface name. In most cases, the name will be something like "mon0" or "wlan0mon".[2]
11
Tell your computer to listen to nearby routers. To get a list of all routers in range, enter the following command:
airodump-ng mon0
Make sure you replace "mon0" with whatever your monitor interface name was in the last step.
12
Find the router you want to hack. At the end of each string of text, you'll see a name; find the one belonging to the network you want to hack into.
13
Make sure the router is using WPA or WPA2 security. If you see "WPA" or "WPA2" immediately to the left of the network's name, you can proceed; otherwise, you cannot hack the network.
14
Note the MAC address and channel number of the router. These pieces of information are to the left of the network's name:
MAC address — This is the line of numbers on the far-left side of your router's line.
Channel — This is the number (e.g., 0, 1, 2, etc.) directly to the left of the WPA or WPA2 tag.
15
Monitor your selected network for a handshake. A "handshake" occurs when an item connects to a network (e.g., when your computer connects to a router). Enter the following code, making sure to replace the necessary components of the command with your network's information:
airodump-ng -c channel --bssid MAC -w /root/Desktop mon0
Replace "channel" with the channel number you found in the last step.
Replace "MAC" with the MAC address you found in the last step.
Remember to replace "mon0" with whatever your interface name was.
Here's an example address:
airodump-ng -c 3 --bssid 1C:1C:1E:C1:AB:C1 -w /root/Desktop wlan0mon
16
Wait for a handshake to appear. Once you see a line with the tag "WPA handshake:" followed by a MAC address in the upper-right corner of the screen, you can proceed.
If you're not in a waiting mood, you can force a handshake using a deauth attack before continuing with this part.
17
Exit airodump-ng, then open the desktop. Press Ctrl+C to quit, then make sure you can see the ".cap" file on your computer's desktop.
18
Rename your ".cap" file. While not strictly necessary, this will make it easier to work with later. Enter the following command to change the name, making sure to replace "name" with whatever you want to name the file:
mv ./-01.cap name.cap
If your ".cap" file isn't named "-01.cap", replace "-01.cap" with whatever your ".cap" file's name is.
19
Convert the ".cap" file into ".hccapx" format. You can do this by using Kali Linux's converter. Enter the following command, making sure to replace "name" with your file's name:
cap2hccapx.bin name.cap name.hccapx
You can also go to https://hashcat.net/cap2hccapx/ and upload the ".cap" file to the converter by clicking Choose File and selecting your file. Once the file is uploaded, click Convert to convert it and then download it back onto your desktop before proceeding.
20
Install naive-hashcat. This is the service you'll use to crack the password. Enter the following commands in order:
sudo git clone https://github.com/brannondorsey/naive-hashcat
cd naive-hashcat
curl -L -o dicts/rockyou.txt https://github.com/brannondorsey/naive-hashcat/releases/download/data/rockyou.txt
If your computer doesn't have a GPU, you'll need to use aircrack-ng instead.
21
Run naive-hashcat. Once it finishes installing, enter the following command (making sure to replace any instance of "name" with your ".cap" file's name):
HASH_FILE=name.hccapx POT_FILE=name.pot HASH_TYPE=2500 ./naive-hashcat.sh
22
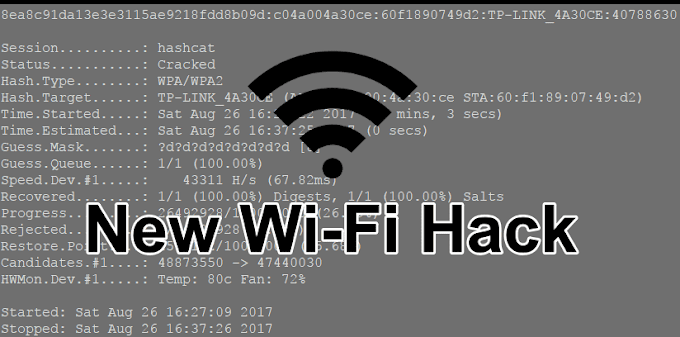
Wait for the network password to be cracked. Once the password is cracked, its string will be added to the "name.pot" file found in the "naive-hashcat" directory; the word or phrase after the last colon in the string is the password.
It can take anywhere from a few hours to a few months for the password to be cracked.

